
The NZ vs SA 3rd T20I turned out to be a one-sided affair as New Zealand delivered a commanding performance to defeat South Africa by eight wickets. Played at Eden Park in Auckland, the hosts dominated proceedings with both bat and ball, taking a crucial 2-1 lead in the five-match T20I series.
New Zealand’s clinical execution exposed South Africa’s weaknesses, particularly in batting, as the visitors failed to put up a competitive total. The result now puts the Black Caps firmly in control of the series heading into the final two matches.
Match Overview
| Match Details | Information |
|---|---|
| Match | South Africa vs New Zealand, 3rd T20I |
| Venue | Eden Park, Auckland |
| Result | New Zealand won by 8 wickets |
| Series Status | New Zealand lead 2-1 |
| Format | T20 International |
South Africa Struggle With the Bat
In the NZ vs SA 3rd T20I, South Africa’s batting unit once again failed to live up to expectations. After being put under pressure early, the Proteas never truly recovered as wickets kept falling at regular intervals.
The top-order batters showed glimpses of promise but were unable to convert their starts into substantial scores. This inability to capitalize on the powerplay overs meant that South Africa missed the opportunity to build a solid foundation.
As the innings progressed, the middle order also struggled to find momentum. Partnerships were scarce, and the lack of acceleration during the middle and death overs proved costly. Instead of pushing towards a competitive total, South Africa ended up with a below-par score that was always going to be difficult to defend on a ground like Eden Park.
New Zealand’s bowlers deserve full credit for this collapse. They maintained tight lines and lengths, applied consistent pressure, and executed their plans with precision. By mixing pace and using variations effectively, they ensured that South Africa never found rhythm.
New Zealand’s Confident Chase
Chasing a modest target in the NZ vs SA 3rd T20I, New Zealand approached the innings with confidence and composure. Right from the start, the batters looked in control, pacing the chase perfectly without taking unnecessary risks.
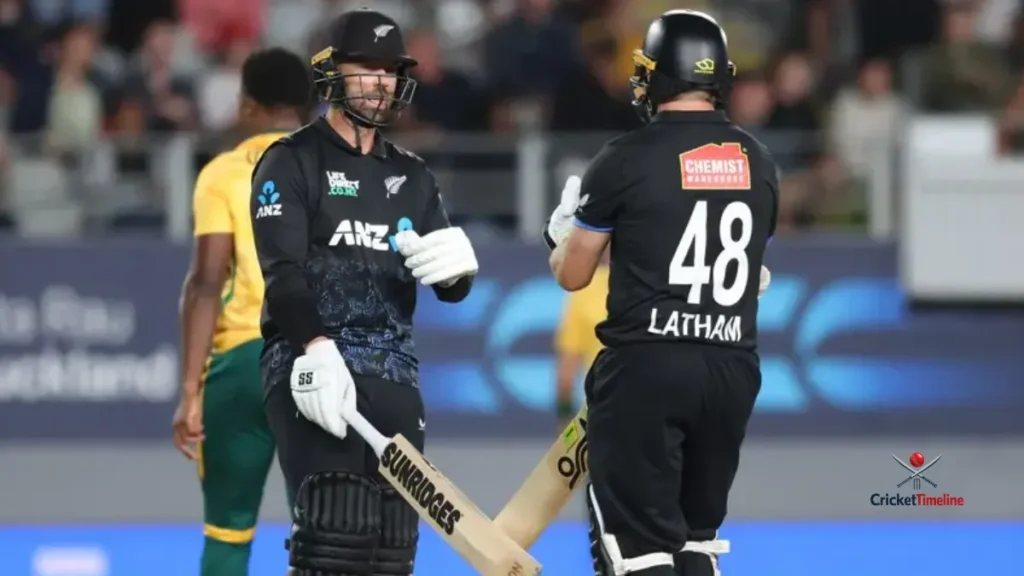
The highlight of the innings was a superb half-century by Tom Latham, who anchored the chase with maturity and class. His innings ensured that New Zealand never lost control of the match. Latham rotated the strike efficiently and punished loose deliveries, keeping the scoreboard moving at a steady pace.
He was well supported by Devon Conway, who played a crucial supporting role. Conway’s calm presence at the crease helped maintain stability, ensuring there were no sudden collapses or pressure situations.
The partnership between the two batters effectively sealed the game, as New Zealand reached the target comfortably with plenty of wickets in hand. Their measured approach reflected the team’s confidence and superior game awareness.
Key Performers
New Zealand
| Player | Performance |
|---|---|
| Tom Latham | Match-winning half-century |
| Devon Conway | Solid support during the chase |
| Bowling Unit | Disciplined and effective throughout |
South Africa
| Player | Performance |
|---|---|
| Middle Order | Failed to build crucial partnerships |
| Bowling Unit | Unable to defend a low total |
Turning Point of the Match
The defining moment in the NZ vs SA 3rd T20I was undoubtedly South Africa’s batting collapse. Their inability to form partnerships and accelerate at key moments left them with a total that was far from competitive.
On a batting-friendly surface like Eden Park, anything less than a strong total was always going to be vulnerable. New Zealand capitalized on this weakness perfectly, making the chase look effortless.
Series Status After 3rd T20I
| Team | Matches Won |
|---|---|
| New Zealand | 2 |
| South Africa | 1 |
With this win, New Zealand have gained a significant edge in the series. South Africa, on the other hand, now face a must-win situation in the remaining matches to keep their hopes alive.
Pitch Report – Eden Park, Auckland
Eden Park is widely known for being a batting-friendly venue, thanks to its short boundaries and true surface. However, bowlers who can vary their pace and execute smart strategies can still find success here.
| Pitch Factor | Details |
|---|---|
| Nature | Batting-friendly |
| Boundary Size | Short |
| Advantage | Favors aggressive stroke play |
| Bowling Tip | Use variations and slower deliveries |
In the NZ vs SA 3rd T20I, New Zealand’s bowlers adapted better to the conditions. Their ability to use slower balls and maintain discipline played a key role in restricting South Africa to a low total.
What’s Next in the Series?
The T20I series between South Africa and New Zealand is far from over, with two matches still to be played. However, momentum is clearly with the hosts.
- New Zealand will aim to continue their winning form and seal the series in the next match.
- South Africa must regroup quickly and deliver a strong performance to stay in contention.
- Fans can expect high-intensity cricket as the series reaches its Decisive phase.
Also Read: South Africa Women vs New Zealand Women: Proteas Clinch 18-Run Victory to Level T20I Series
Conclusion
The NZ vs SA 3rd T20I highlighted New Zealand’s dominance in all departments of the game. Their disciplined bowling effort set the tone, while a composed batting display ensured a smooth and convincing victory.
With a 2-1 lead, New Zealand are now in a strong position to clinch the series. South Africa, meanwhile, will need to address their batting concerns and come back stronger if they hope to turn things around.
As the series heads into its final stages, the pressure is firmly on the Proteas, while New Zealand will look to maintain their momentum and finish on a high.